On this day in military history…
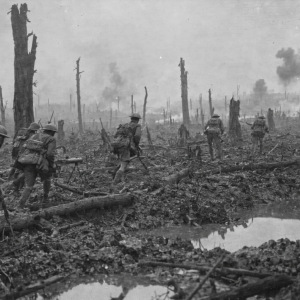
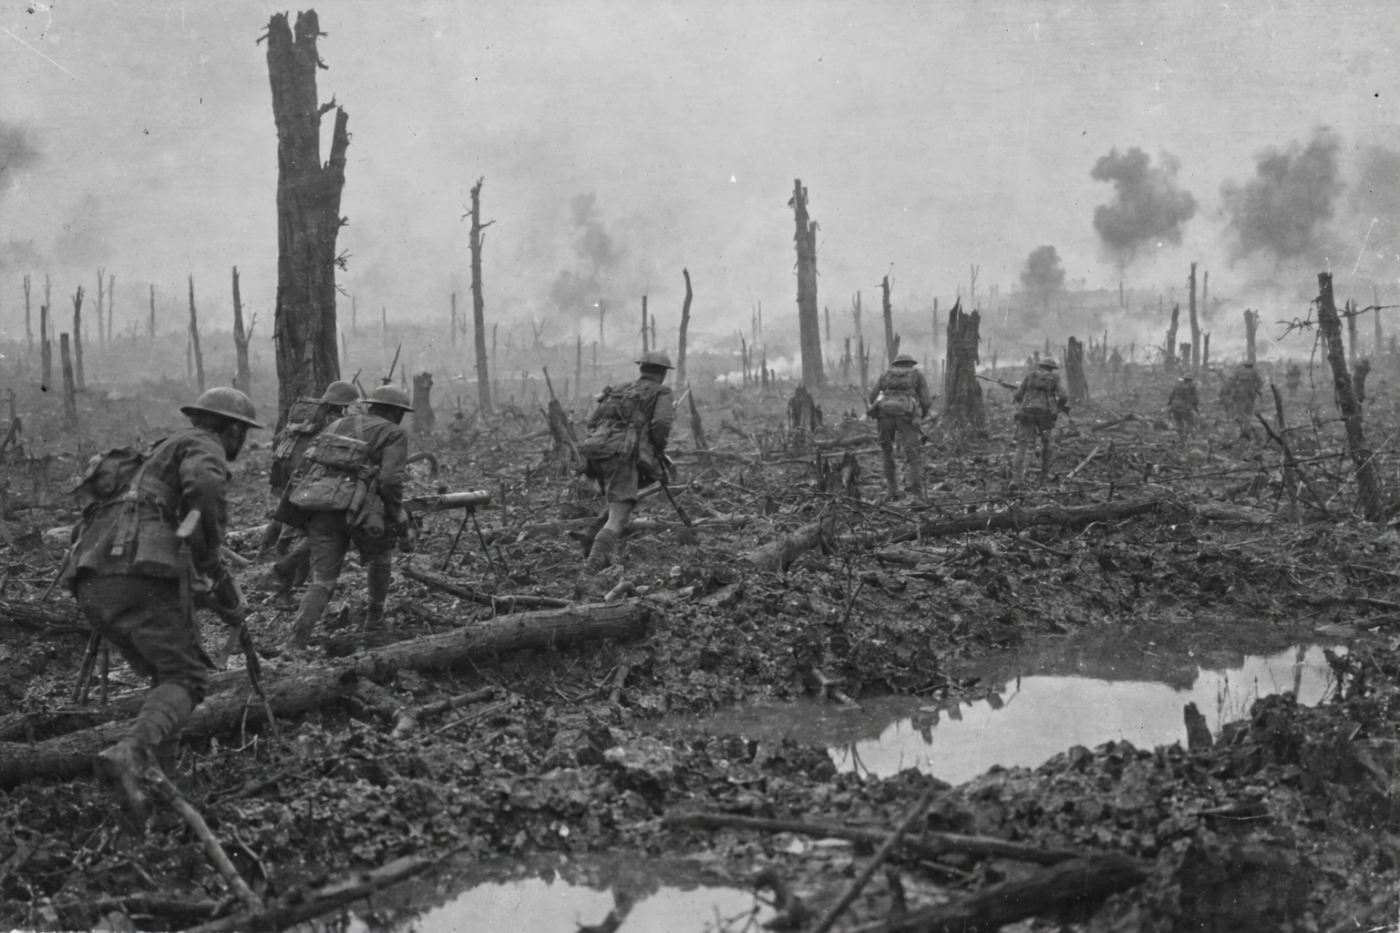
On 26 September 1917, British and Australian troops launched the Battle of Polygon Wood, one of the most carefully planned and successful attacks of the Third Battle of Ypres. Fought across a devastated stretch of Belgian countryside east of Ypres, the battle formed part of the wider campaign remembered as Passchendaele. Polygon Wood had once been a peaceful plantation named after its unusual shape, but by September 1917 it had become an almost unrecognisable wasteland of shattered tree stumps, flooded shell holes, concrete pillboxes and tangled wire.
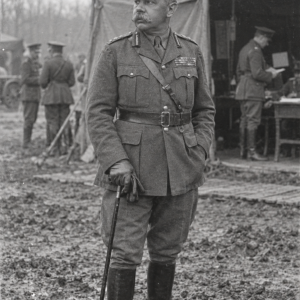
The Third Battle of Ypres had begun on 31 July with the ambitious intention of breaking through the German defences in Flanders, capturing the high ground around Passchendaele and threatening the German-held ports on the Belgian coast. Earlier attacks had become bogged down when heavy rain turned the battlefield into a swamp. Infantrymen frequently advanced beyond the protection of their artillery, only to be struck by German counter-attacks before they could consolidate their gains. General Sir Herbert Plumer, commander of the British Second Army, therefore adopted a more methodical system known as “bite and hold”. Rather than attempt one enormous breakthrough, the infantry would capture a limited section of ground behind an overwhelming artillery barrage, dig in and allow the guns to destroy the inevitable German counter-attacks. Once the position had been secured and the artillery brought forward, another carefully prepared advance would be made.
This approach had already proved successful during the Battle of the Menin Road, which began on 20 September. Australian troops captured the western section of Polygon Wood and several heavily fortified German positions. Five days were then spent moving guns, ammunition and supplies forward while fresh troops prepared to complete the capture of the wood and advance towards the higher ground beyond it. The 4th and 5th Australian Divisions relieved the exhausted 1st and 2nd Divisions, with the 4th Division occupying the left of the Australian front and the 5th Division the right. Their objectives included the remainder of Polygon Wood, two German trench lines and the prominent earthen mound known as the Butte, which had been used as a rifle range before the war.
The operation was nearly disrupted on 25 September when German troops attacked British positions immediately south of the Australian sector. Men of the Australian 15th Brigade were forced into fierce fighting while still preparing for the following morning’s assault. Although the German advance was eventually stopped, uncertainty remained over whether the Australian right flank would be secure. During the darkness before dawn on 26 September, the assaulting battalions moved into position along tapes laid across the shattered ground. At 5.50 am, thousands of British and Australian guns opened fire almost simultaneously. The bombardment was described as sounding like a roaring bushfire as a wall of exploding shells moved slowly towards the German lines.
Around 4,000 Australian infantrymen in the first assaulting battalions immediately followed the creeping barrage. The timing was crucial. If the men advanced too quickly, they risked walking into their own shells; if they fell behind, German machine-gunners would have time to emerge from their concrete shelters and open fire. The infantry moved through the remains of Polygon Wood, passing splintered trees, wrecked trenches and shell holes filled with water and bodies. The barrage proved devastatingly effective. Many German defenders were killed, stunned or trapped inside their pillboxes until Australian troops were almost upon them. Lewis guns, rifle grenades and hand grenades were used to suppress the entrances while small groups worked around the sides and rear. Some garrisons surrendered, but others fought until their positions were stormed at bayonet point.
The fighting was particularly severe around Jerk House, a fortified farm on the southern side of the battlefield. German machine-gunners inside a series of concrete pillboxes caused heavy casualties among the Australian 31st Battalion. Lieutenant John Brodie attempted to rally his men for a direct assault but was shot through the head while urging them forward. Private Patrick Bugden repeatedly attacked the German strongpoints with grenades before rushing their defenders with the bayonet. During the following two days, he made five journeys through machine-gun fire to rescue wounded men and helped repel German counter-attacks. Bugden was killed on 28 September, aged just twenty, and was posthumously awarded the Victoria Cross.
Sergeant John Dwyer of the 4th Australian Machine Gun Company displayed similar courage. Advancing with a Vickers machine gun, he spotted a German gun firing into the Australian flank. Dwyer moved to within approximately thirty yards and fired directly into the position, killing its crew. He then retrieved the captured weapon under sniper fire and used both guns against later counter-attacks. When his Vickers was destroyed by shellfire the following day, he returned through the barrage, collected a replacement and brought it back into action. He was also awarded the Victoria Cross.
The Australian infantry captured most of its objectives with remarkable speed. The Butte was rushed and secured after a brief struggle, while the 15th Brigade not only took its own objectives but also occupied ground assigned to a neighbouring British formation. By approximately eight o’clock, many of the leading battalions had reached their final positions and begun digging in. German artillery soon bombarded the captured ground and several counter-attacks were launched, but this was when Plumer’s tactics proved their value. British observers detected German troops assembling and called down heavy defensive barrages, breaking up attacks before they could reach the newly established line. Machine-gunners and riflemen dealt with those who survived the bombardment.
Although the main Australian objectives were taken on 26 September, fighting and heavy shelling continued over the following days, with the wider battle lasting until 3 October. The advance carried the Allied line approximately 1,000 yards forward, completed the capture of Polygon Wood and provided a stronger position from which to continue towards Broodseinde and Passchendaele. It was a clear tactical victory, but it had been purchased at a terrible price. The Australian divisions suffered more than 5,400 killed or wounded during the main fighting, with total casualties throughout the operation placed at approximately 5,770. The 5th Australian Division alone lost 545 men killed, 172 missing and more than 2,300 wounded. Many experienced officers had led from the front and were among those killed.
The battle demonstrated what disciplined infantry, closely coordinated with artillery, could achieve on the Western Front. Unlike the overambitious attacks that had characterised the opening stages of Third Ypres, the troops were given realistic objectives and remained within range of their supporting guns. German defences were overcome and their counter-attacks shattered, yet the victory did not produce the strategic breakthrough originally sought in Flanders. Heavy rain soon returned, transforming the battlefield into the infamous mud of Passchendaele. Polygon Wood was followed by another success at Broodseinde on 4 October, but later operations at Poelcappelle and Passchendaele became exhausting struggles against mud, machine guns and heavily fortified positions.
Today, Polygon Wood has returned to peaceful woodland, but the battlefield remains a place of remembrance. The 5th Australian Division Memorial stands upon the Butte captured by its soldiers on 26 September 1917, while nearby cemeteries contain the graves of men who fell during the fighting. Beneath the restored trees lie the remains of trenches, shell holes and soldiers who were never recovered, silent reminders of the courage and sacrifice shown during one of the most successful yet costly battles of the Ypres campaign.